Rocks, Plastic, Lathe and Mortar
All the ingredients for a stone wall, |
Putting up a frame around the
perimeter of the stone wall area |
The next step is to put plastic sheeting
on the wall where the mortar will be applied
This keeps the moisture from wicking into the logs |
With the plastic covering the
area the next step is to put
metal lathe over the plastic |
Though difficult to see in this picture
the metal lathe has been nailed to the wall
covering the plastic sheeting.. |
Bob mixes water with the Type N
premixed dry mortar mix. For a larger job
its is cheaper to buy Mortar, Sand and lime separately. |
I
Applying the mortar to the metal lathe
Having the right moisture content was important |
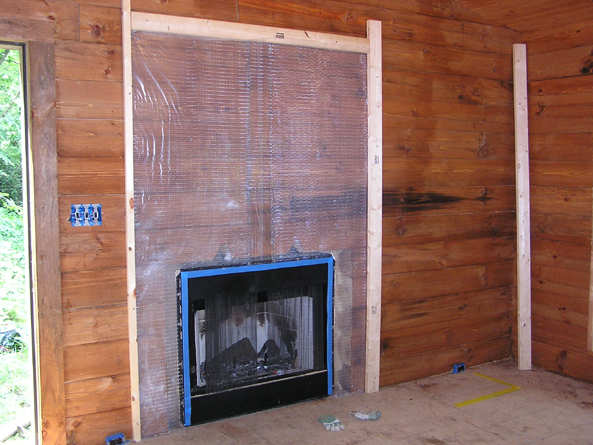
By the end of the first day the
base coat of mortar had been applied |
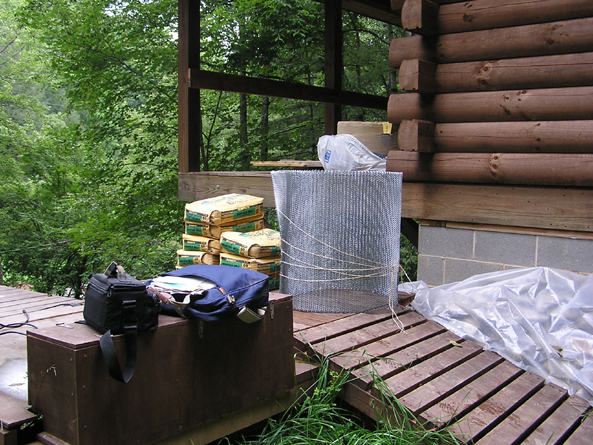
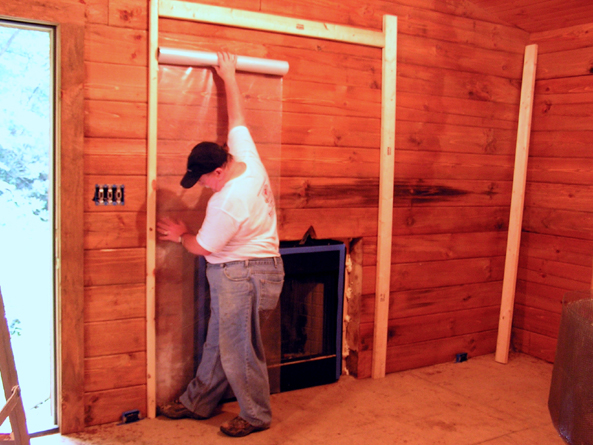